
Modifying A Volume
As always, before starting anything like this, ensure you have a backup. That applies to your database file(s) and you could image your server also. We’re going to dive straight in by logging into the AWS console, going to the EC2 service, and in the left hand menu selecting Volumes under the Elastic Block Store section.

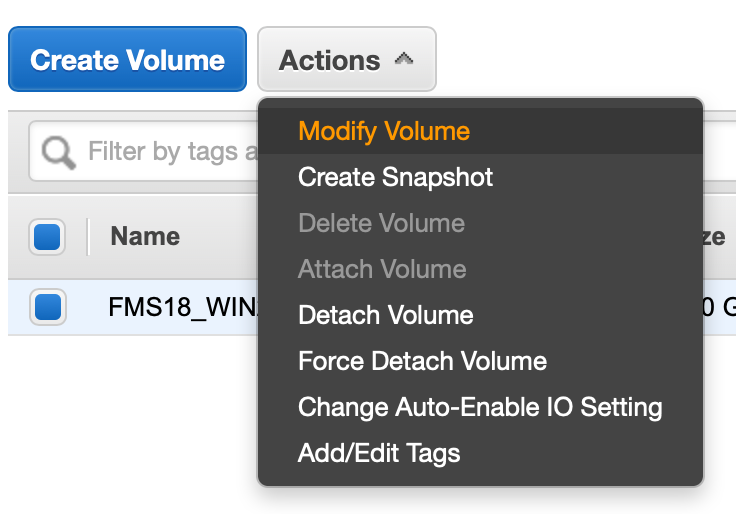
Following that, select the volume you wish to modify, and under the Actions menu, choose modify volume.
In the dialog that pops up, you can adjust the size of the volume. In our case, we’re going to increase the size to 512GB.
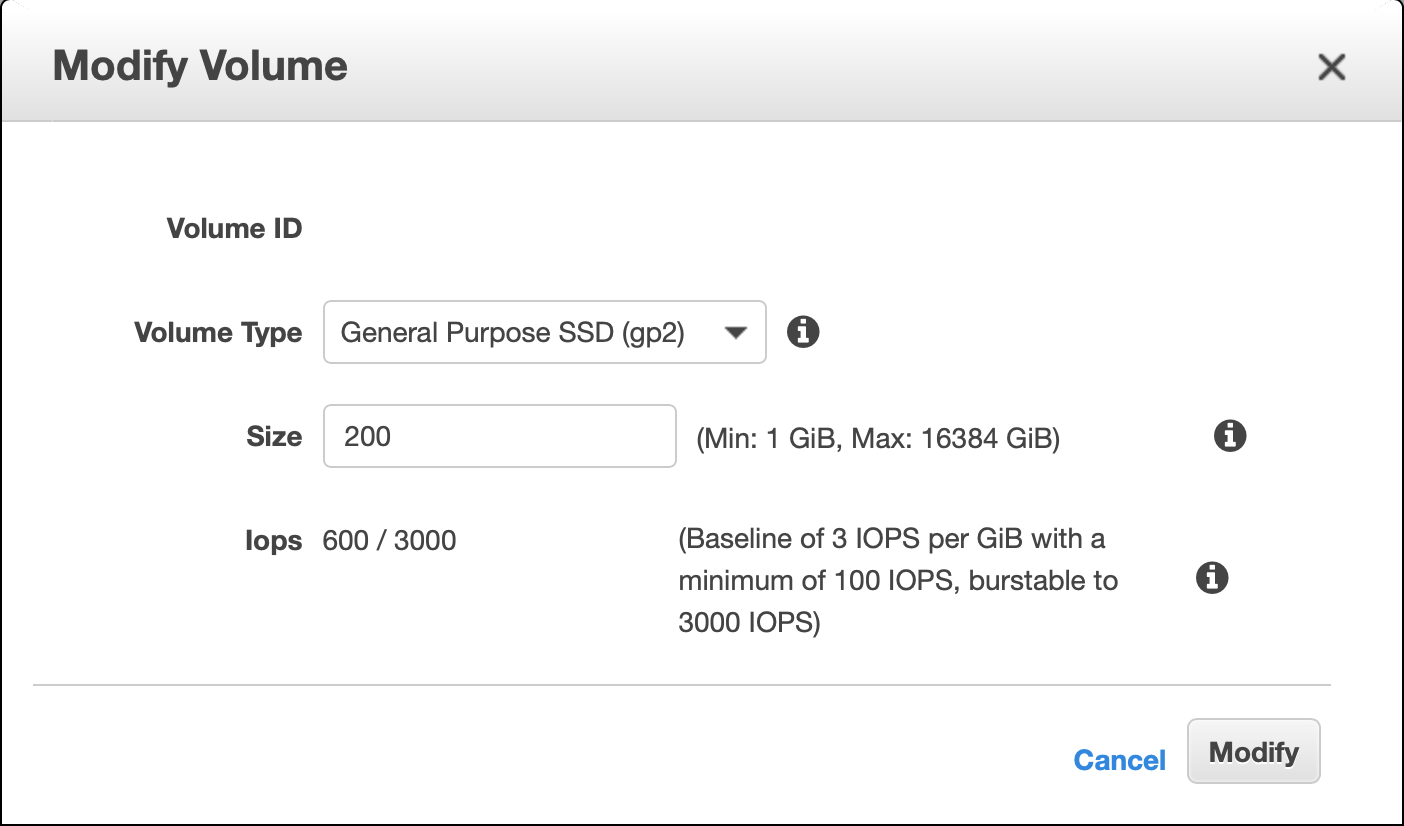
Once you’ve entered your new size, click the Modify button and you’ll see the confirmation below of the action you’re about to take. Note the information about extending the OS file system, we’ll get to that next.
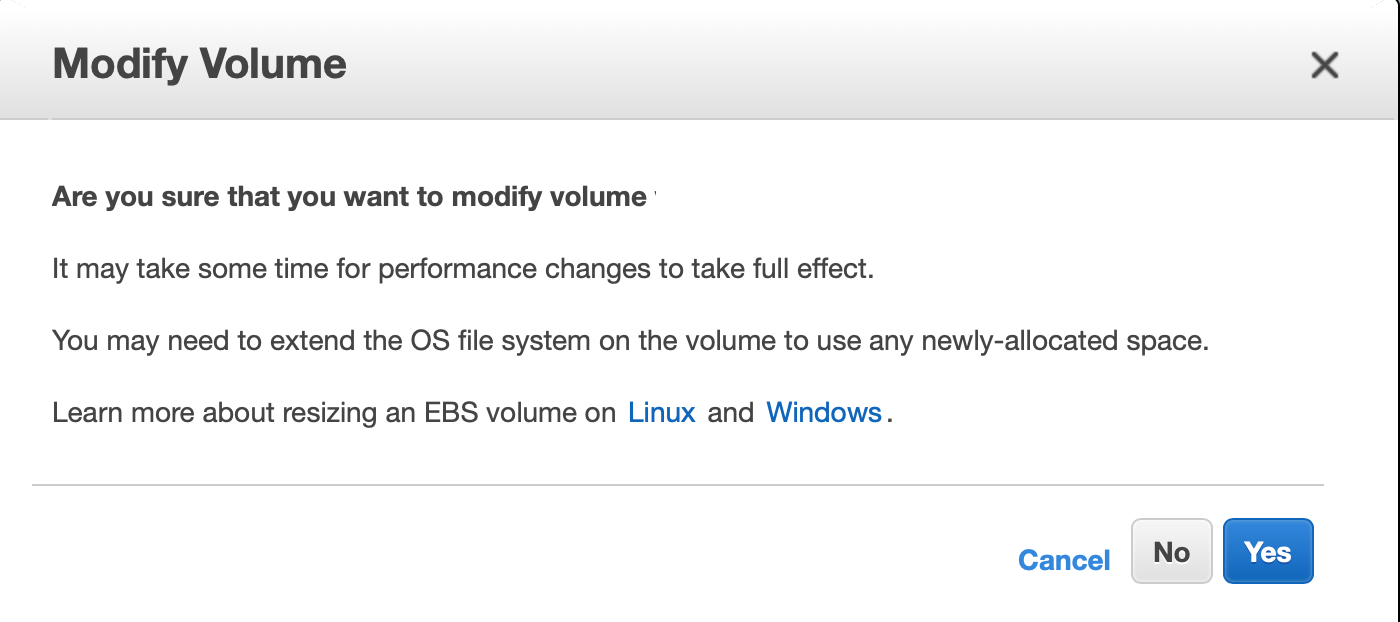
Also note that it says it make take some time, and it will! Go ahead and click Yes above and you’ll get the confirmation that your request succeeded as below.
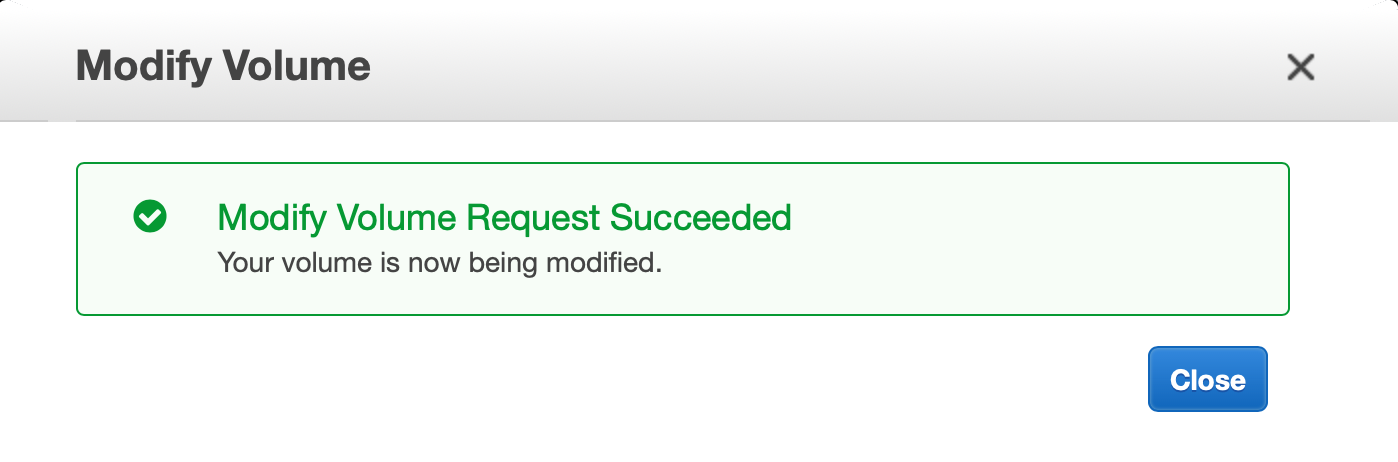
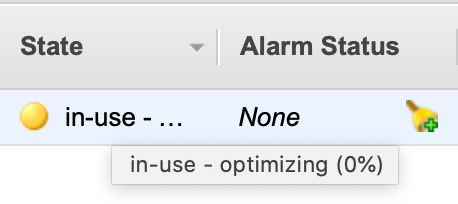
Close out the Modify Volume dialog and refresh the list of volumes using the refresh button in the top right. The state of the volume you just modified will show as below. The percentage will creep up bit by bit and, depending on the size you chose, could take an hour or more to complete. Kick back, relax, and wait for this process to complete, checking it every now and then by hitting that refresh button. The yellow icon will turn back to green once it’s complete.
Adjusting The Windows Disk
Once the AWS optimizing is complete, we have one more thing to do to make the new space available. Remote Desktop into your server and there’s a couple ways of getting to the Disk Management environment. The first is using the Start menu and navigating to Windows Administrative Tools > Computer Management.
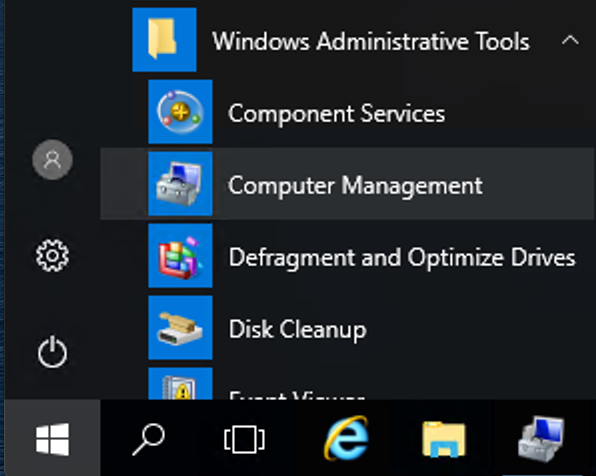
And then select Disk Management from the left as below.
Alternatively, you can type
diskmgmt.msc
in a command prompt and go directly to it.
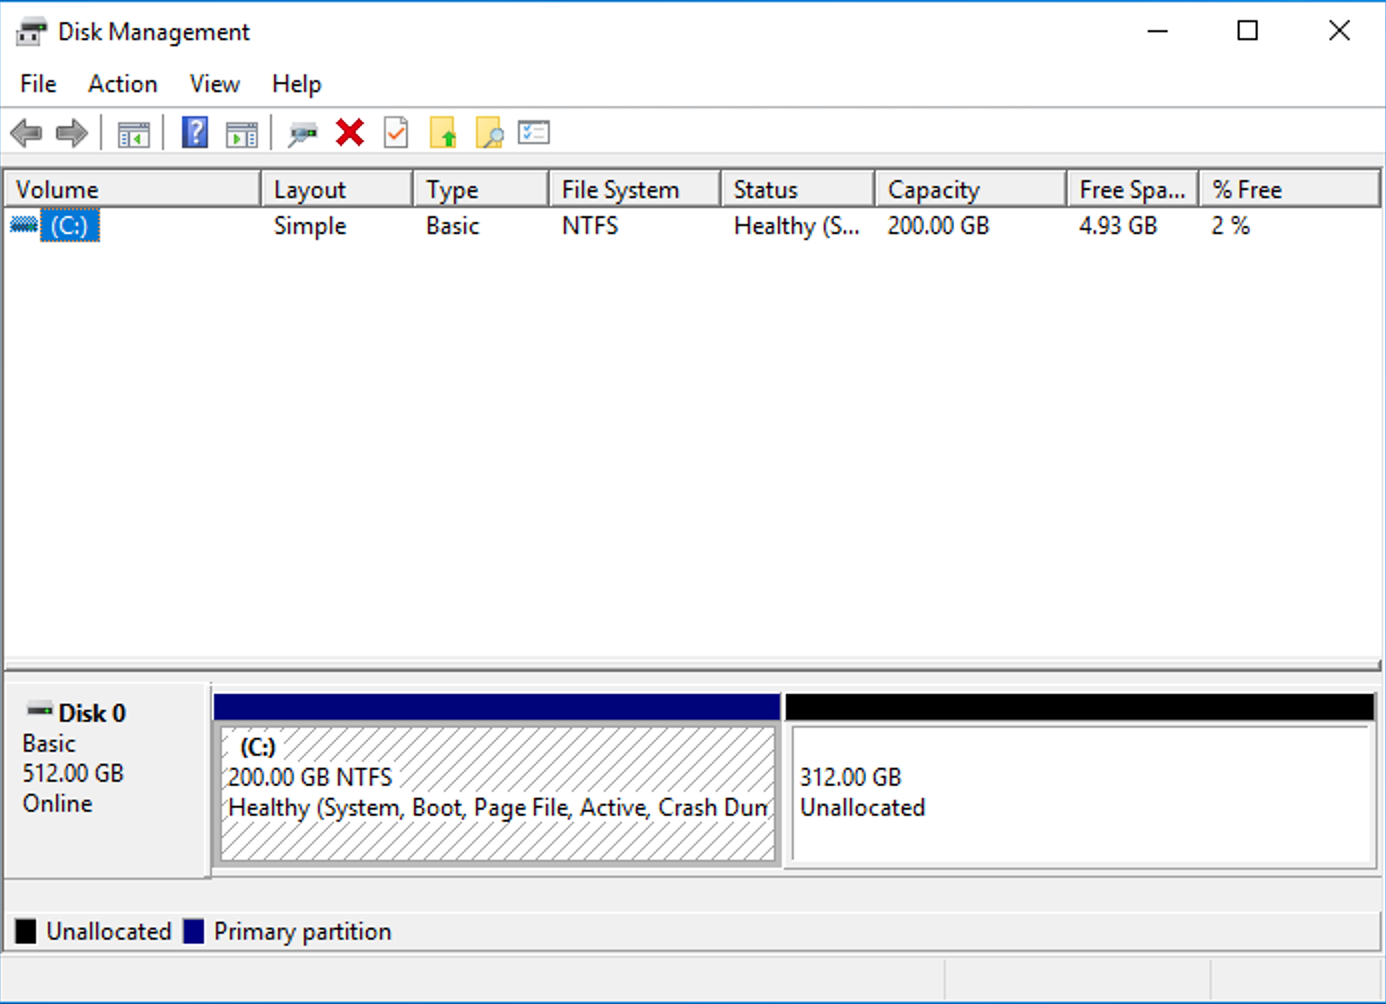
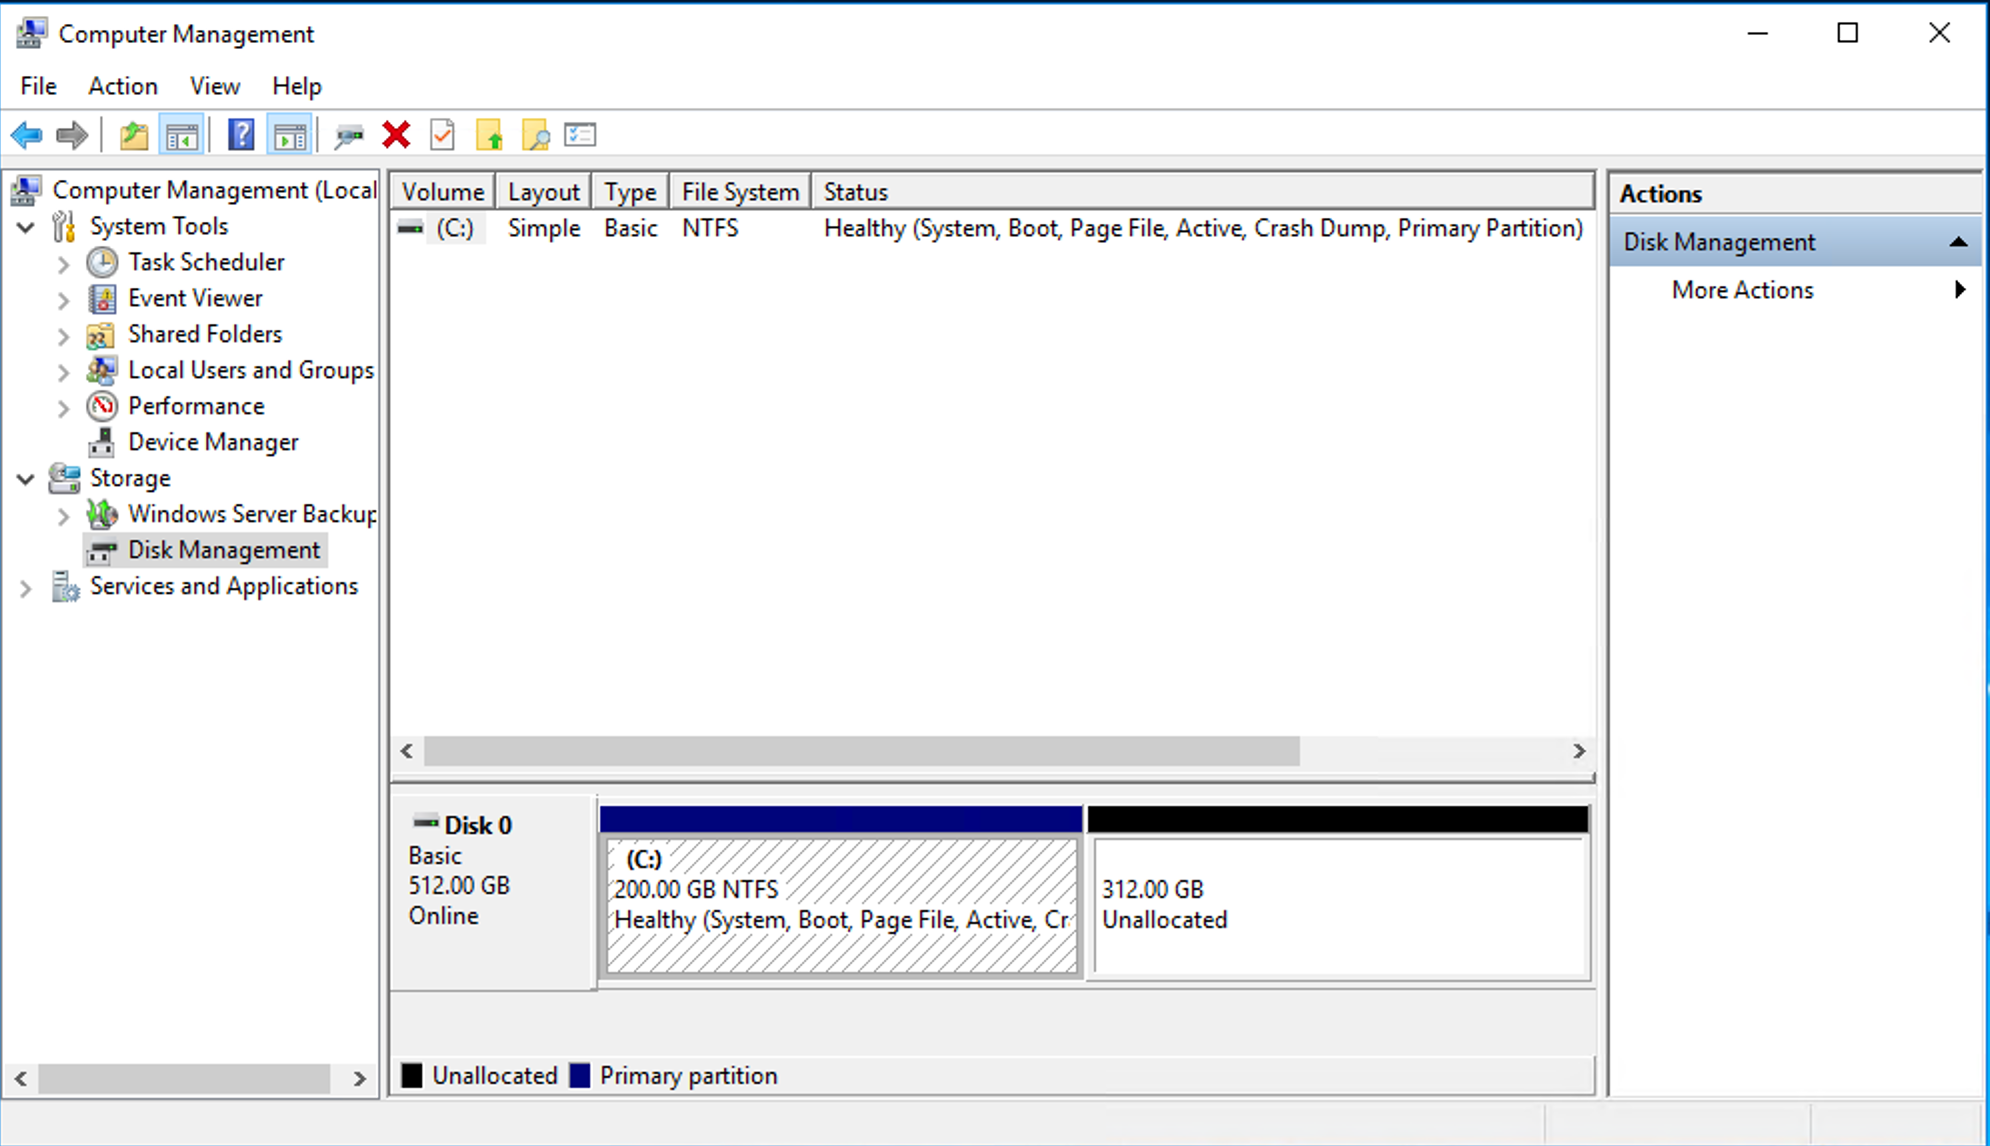
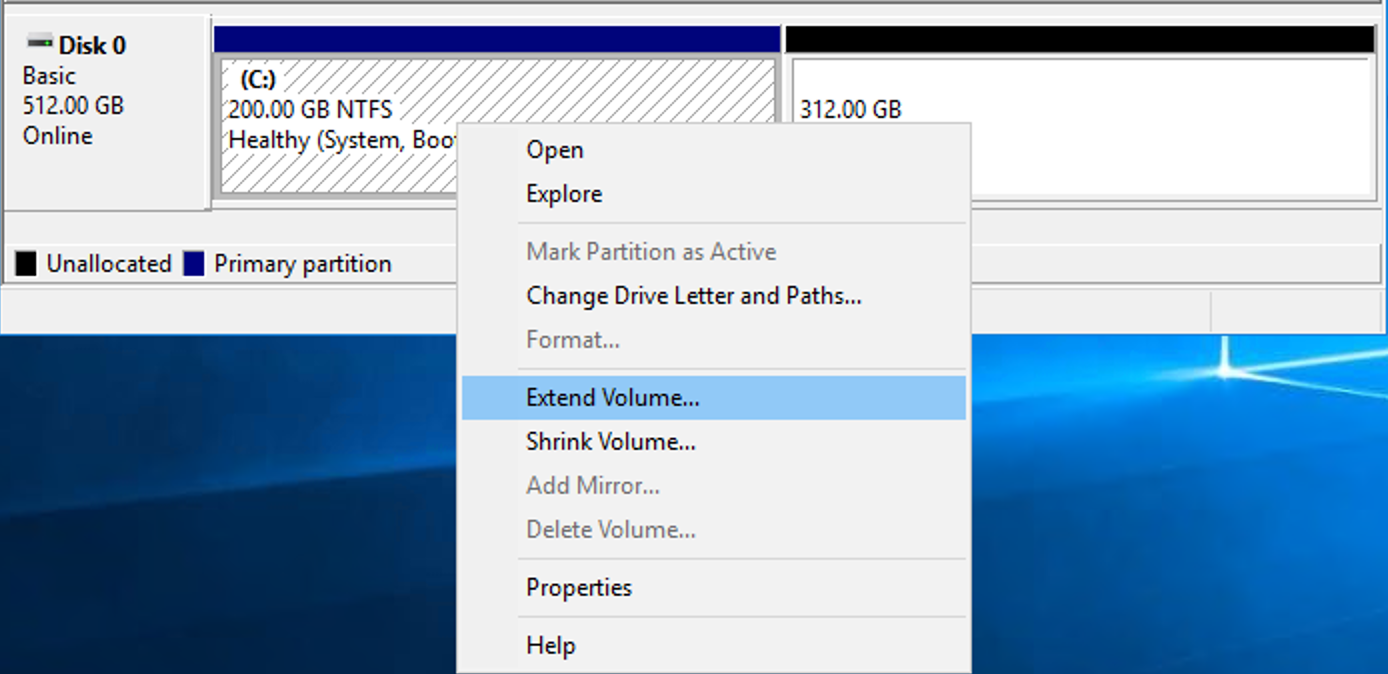
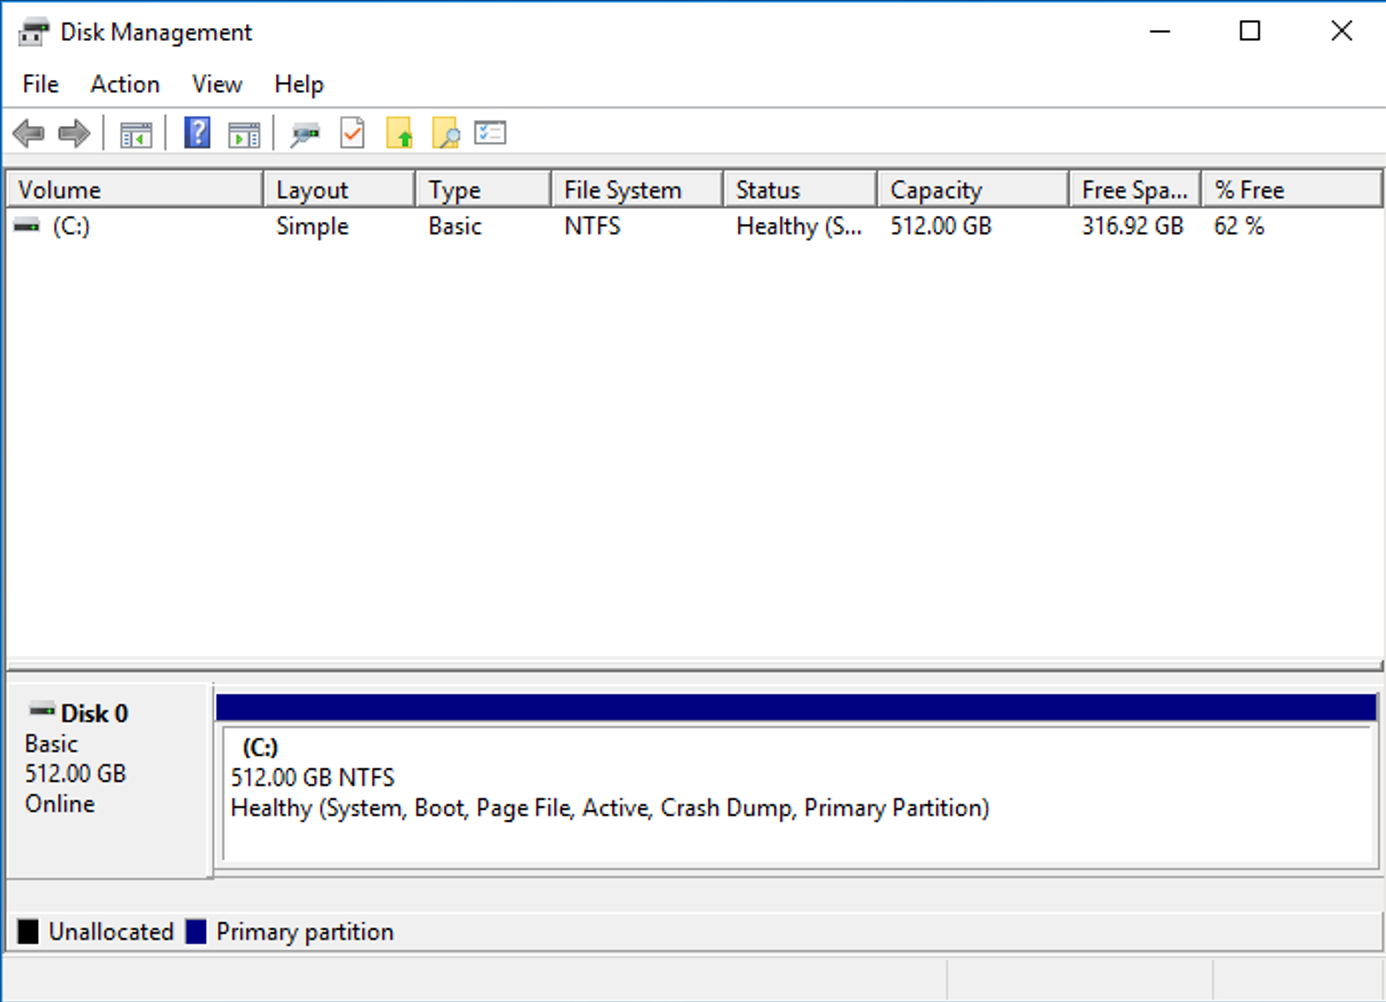
You can see that our original 200GB is allocated to the C: drive, but the additional space is currently unallocated. It’s pretty easy to add this to our C: drive by right clicking on the C: drive and choosing Extend Volume.
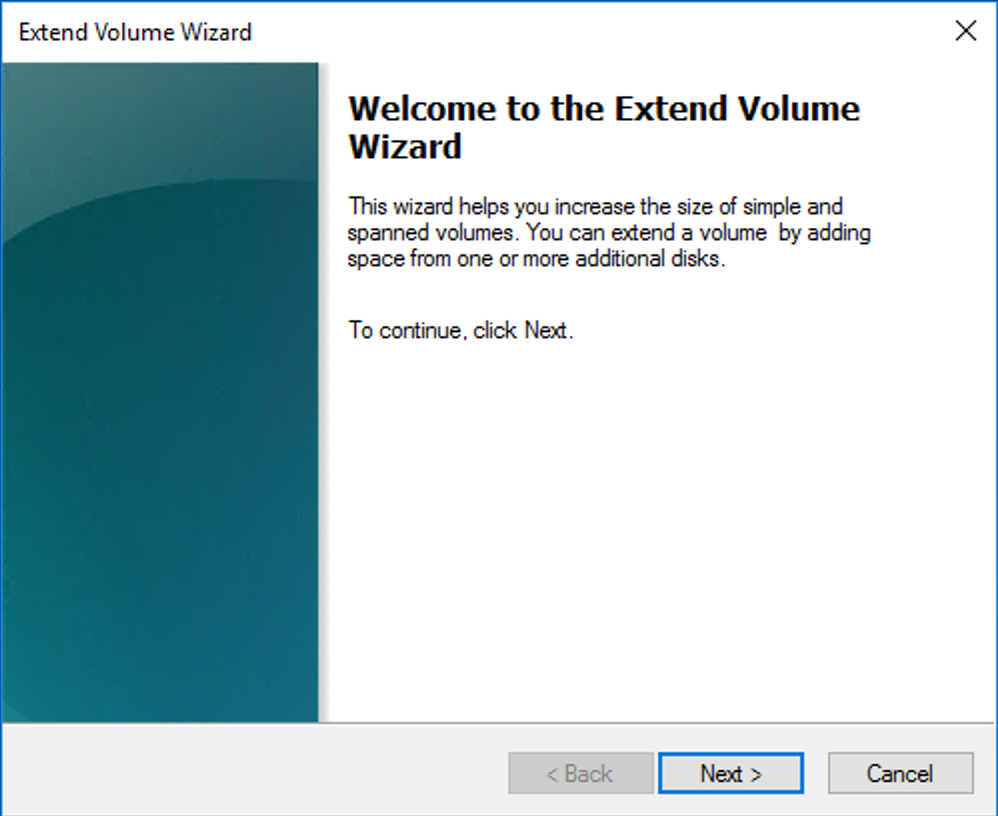
The Extend Volume wizard will then launch. Click Next.
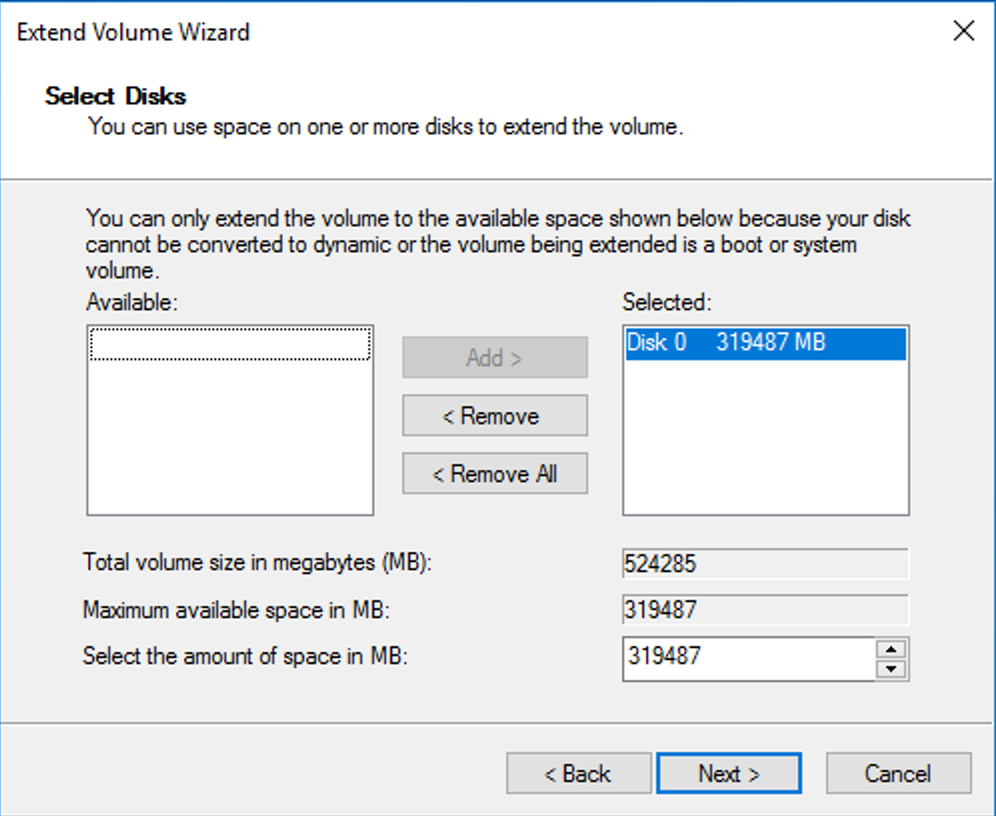
We don’t need to adjust anything below, it’s automatically chosen all the unallocated space for us. Click Next.
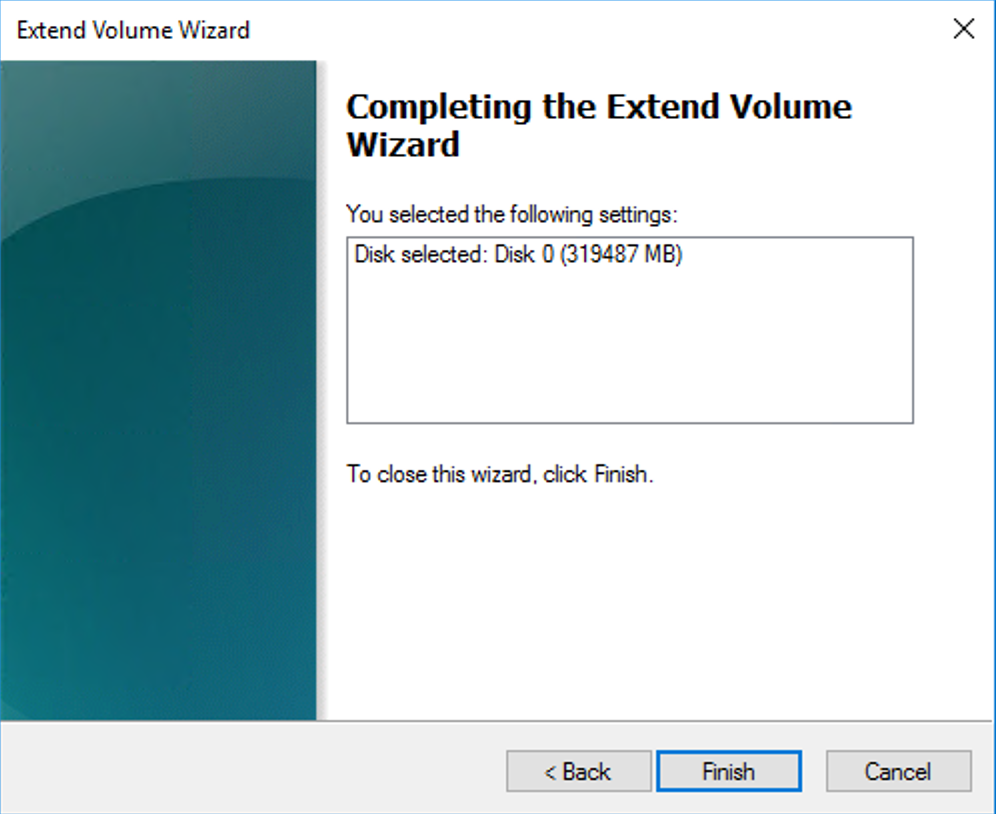
And click Finish to apply the action.
As you can see below, the C: drive is now 512GB and our disk space issue has been resolved.
Conclusion
Requiring additional storage space can result from a variety of reasons but it’s a simple fix without needing to launch a new server, installing a FileMaker Server etc. It's important to keep an eye on your server storage space, but if that's not one of your strengths, then consider signing up for OverwatchFM, our FileMaker Server monitoring service, and get alerts on storage space issues, backups failing and more.
If you need help with your FileMaker AWS instance, or want to save money on your licensing of Claris products, contact us and we'll be glad to help.


